Tips & tricks · Apps · Everywhere · ~10 min per presentation · 2 min read
Slim down a presentation: compress images right inside PowerPoint
Last reviewed:
In this article
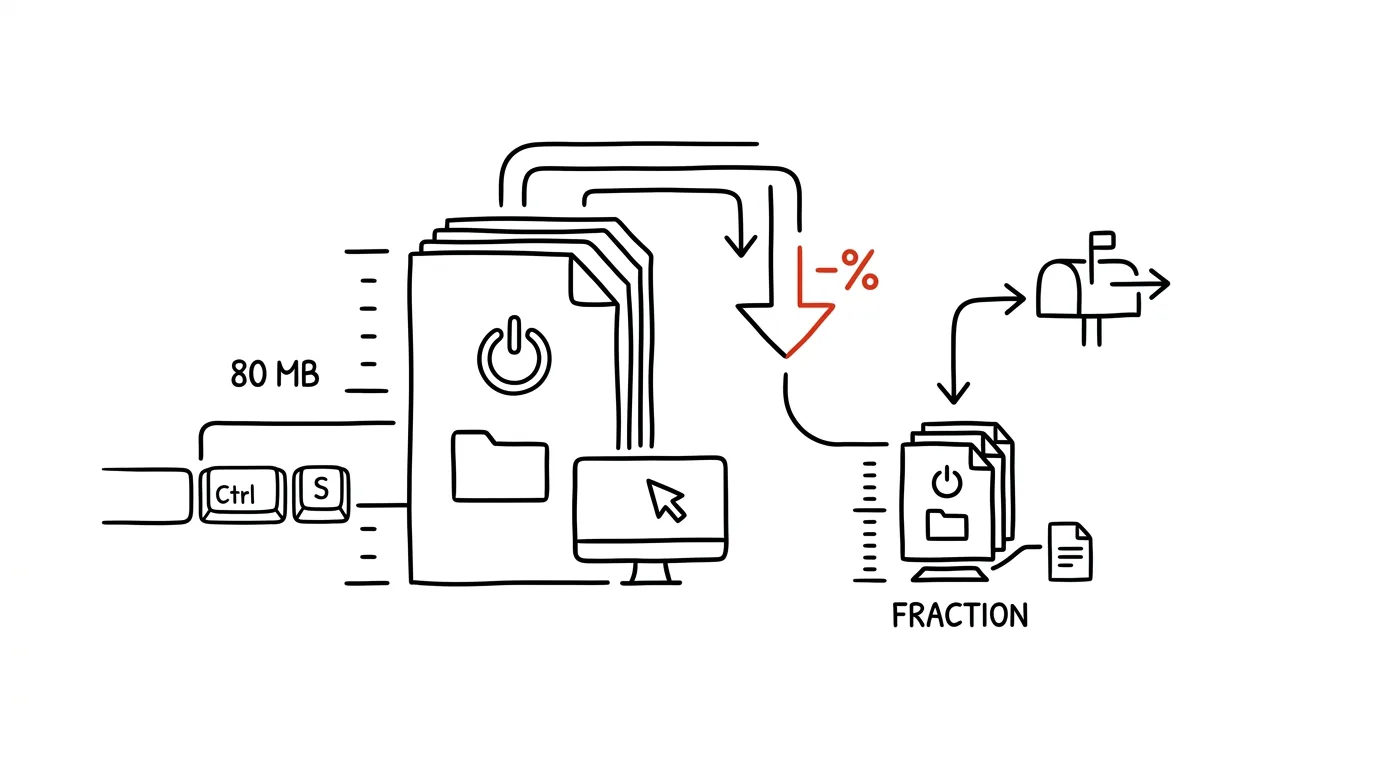
A presentation built with phone photos easily balloons to tens of megabytes: any given photo straight off a phone can be 5 MB, and PowerPoint saves the whole thing — even if it's shrunk down to a quarter size and cropped on the slide. The file then won't go through email and opens and shares slowly. PowerPoint has built-in compression that recalculates images down to the resolution the presentation actually needs and discards the cropped-off parts. On screen the result looks identical, but the file is a fraction of the size.
How to do it
- Click any image in the presentation — this brings up the Picture Format tab — and there choose Compress Pictures (the small icon with arrows next to the image, in the Adjust group).
- In the dialog, uncheck “Apply only to this picture” — that runs the compression across the whole presentation at once.
- Leave Delete cropped areas of pictures checked: whatever you cropped away has, until now, been secretly sitting in the file in case you wanted to undo the crop — this actually deletes it, and the file shrinks accordingly.
- Choose a resolution — for projecting and ordinary sharing, 150 pixels per inch is plenty; pick 220 for print. Confirm and save the file with Save As, so you can see the new, smaller file and compare its size to the original before sending it.
- The same dialog exists in Word and Excel too — bloated documents full of photos get the same treatment.
- To stop files from ballooning in the first place, set the default behavior: File → Options → Advanced, the Image Size and Quality section — set the default resolution to 150 ppi and PowerPoint will shrink newly inserted images automatically from then on.
A typical scenario
A teacher has put together a presentation on art history: sixty slides, each with a high-resolution reproduction. The file is 120 MB — the school email rejects it, the shared drive takes forever to upload it, and on an older classroom computer the presentation stutters. Two clicks in the compression dialog: 9 MB, visually indistinguishable, goes through anywhere, and looks exactly the same on the projector, which was never going to display more than the phone photos' full resolution anyway.
What you get out of it
Presentations you can actually email, that open quickly, and that play smoothly. And because compression also discards the cropped-off parts of images, it doubles as a privacy safeguard — nobody can “pull” the original uncropped photo back out of the file.
Pro tip
Cropping in PowerPoint is reversible up until this point — after compressing with cropped areas removed, it no longer is. So compress only once the content is finished, ideally on a copy of the file meant for sending; keep a working version with the full images around.
Want to go deeper? The handbook has a whole chapter on it — The app categories that matter.
Similar tips
Paste Values Only: Formulas Out, Numbers Stay
Ctrl+Alt+V
Ctrl+Alt+V opens Paste Special — paste results without formulas, formats without content, or transpose a table.
Double-Click the Fill Handle to Copy a Formula All the Way Down
You don't have to drag a formula across a thousand rows — double-clicking the little black square copies it down to the end of the adjacent data.
In-depth guide · 19 min
Snap a photo and it's a task: Claude on mobile
14 prompts: a whiteboard into tasks, a receipt into a budget line, a poster into an event, a card into a contact — and a habit that empties your gallery.
Was this helpful?
Liked this tip?
I send one like it every week by email. Two minutes to read, hours saved.
1 tip a week · no spam · unsubscribe in one click